1. Run Sample App
Once you have one of the web, iOS, or Android sample applications set up locally, you will then:- Run the sample app and simulator.
- Obtain your App ID. This can be done by one of two options
- Access the developer console and navigate to the configurator within user-controlled wallets. From there, copy the App ID.
-
Make an API request to
GET /config/entityand copy the App ID from the response body.
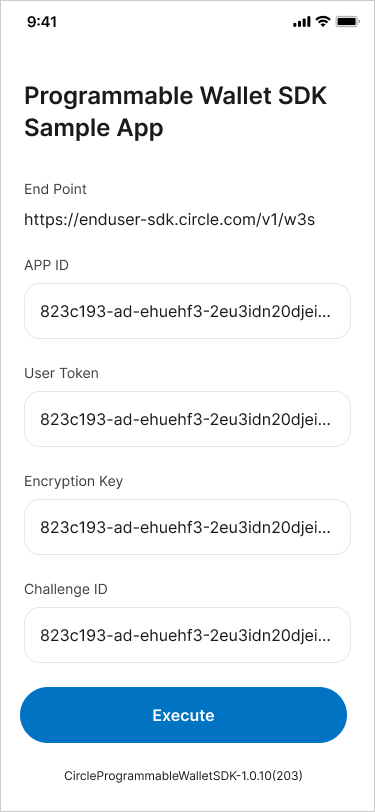
- Add the App ID to the sample app.
2. Acquire a Session Token
You will start by making a request toPOST /users/token
using a previously created user ID. The userToken is a 60-minute session token
to initiate requests requiring a user challenge (PIN code entry). After 60
minutes, the session expires, and a new userToken must be generated via the
same endpoint.
From this response, you will acquire the encryptionKey and userToken which
you should provide in the respective sample app fields. Additionally, you will
use the userToken in Step 3.
Response Body
3. Check the Wallet Balance and Acquire the Token ID
Before making an outbound transfer, you must gather the token’s ID and ensure you are holding a token balance. To do this, make a request toGET /wallets
passing in the wallets userToken to get the walletId.
Response Body
GET /wallet/{id}/balances
to check the balance of tokens and acquire the tokenId you intend to transfer.
The token ID will be used in the following steps.
Response Body
4. Estimate the Cost of Transferring the token (Optional)
To estimate the fees for the transaction to transfer tokens, make a request toPOST transactions/transfer/estimateFee.
Response Body
5. Initiate a Blockchain Transfer
Make a request toPOST /user/transactions/transfer
to initiate a blockchain transfer from a specifiedwalletId to a blockchain
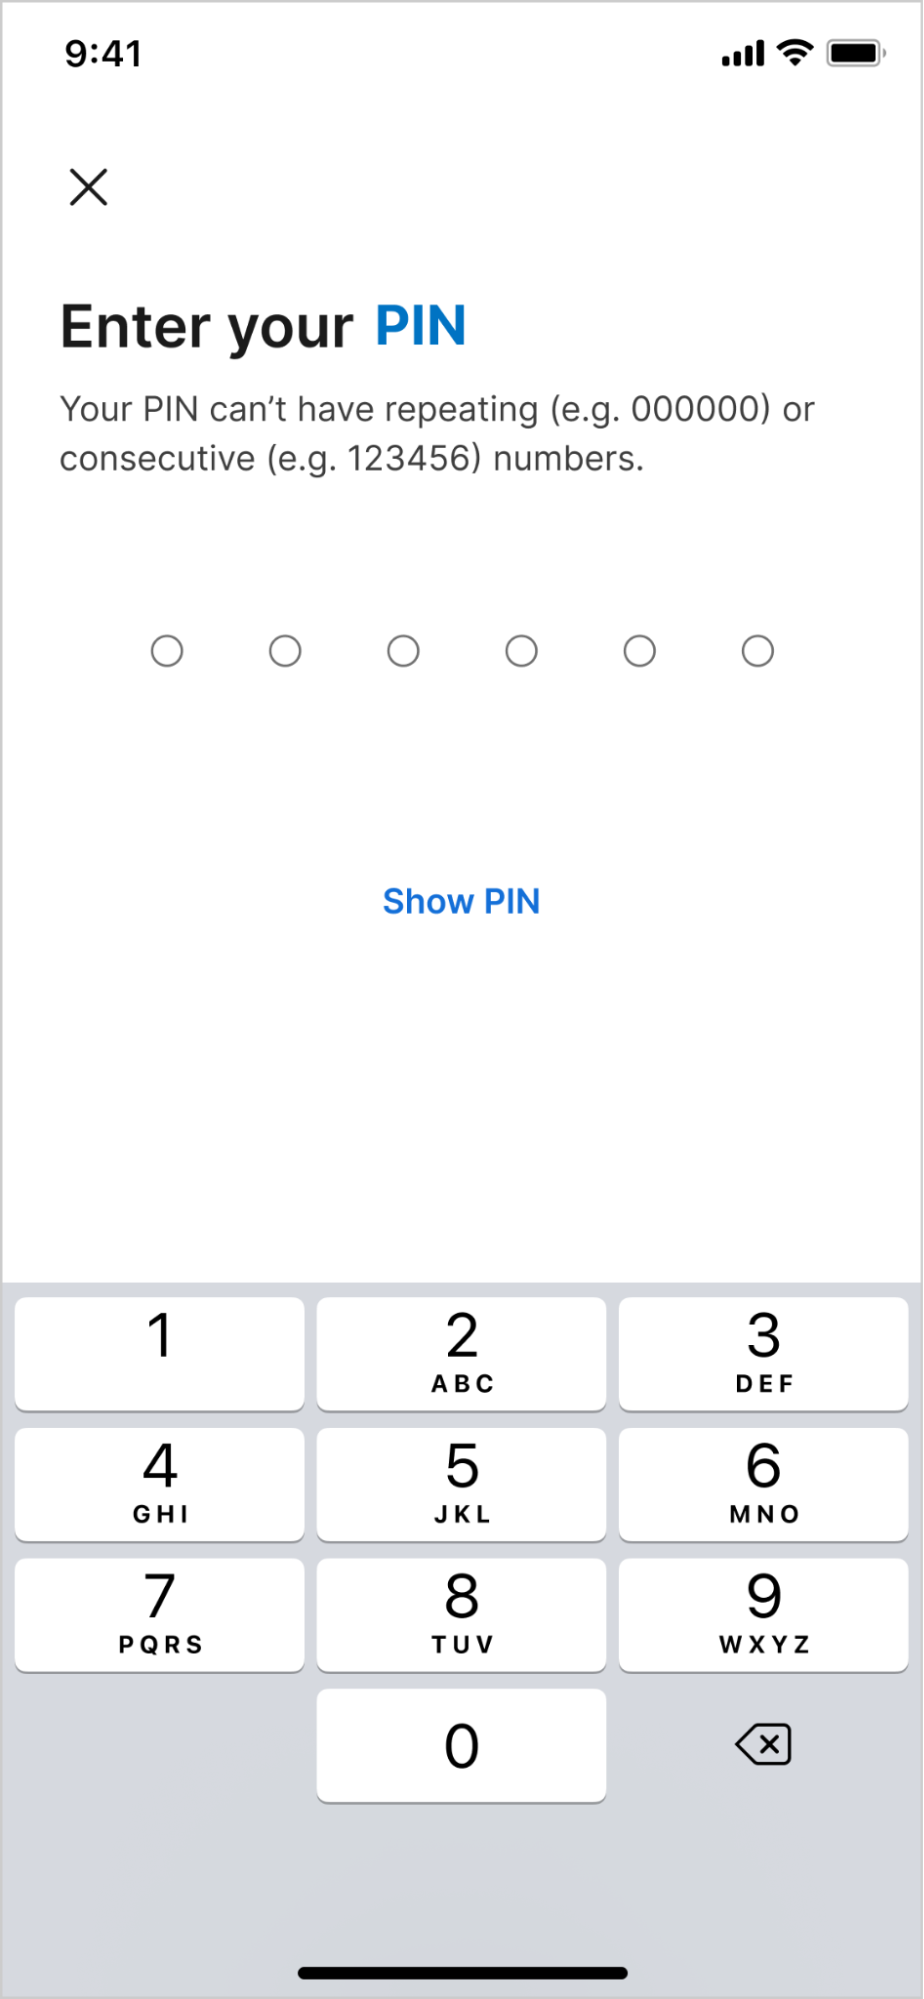
addressdestinationAddress. This call returns a challengeId, used within the
sample app, that prompts users to enter their PIN code to authorize the
transfer.
If you do not have a wallet to use as a destination for the transfer, you can
create another User-Controlled Wallet by stepping through create your first
wallet or
send funds to any other blockchain wallet such as
Metamask.
Response Body
6. Authorize transfer from the sample app
Using the sample application, enter theuserToken and secretKey returned
from Step 2. Also, enter the challengeId returned from Step 5.
At this point, you should be ready to execute your first transfer through the
sample app. Click Execute in the sample app to continue.
7. Check the Transfer Status
As the transferstate changes and ultimately completes, Circle sends
notifications to a subscribed endpoint. You
can find a list of all possible states in the
Asynchronous States and Statuses guide.
The Webhook notification will be similar to the one below.
Webhook Request Body
GET /transactions
using the userId or userToken associated with your user.
Response Body