Prerequisites
Before you begin:- Create or sign in to your Circle Developer Console account.
- Generate an API Key.
- Complete the Authentication Methods configurations before you set up the sample app.
If you want to test in the iOS or Android environment, you can check our
Github repo for iOS sample
app and Android
sample app.
Step 1. Configure sample app
- Obtain an App ID. Either:
- From the Circle Developer Console, navigate to Wallets > User Controlled > Configurator and copy App ID.
- Send a
GETrequest to the/config/entityendpoint and copy theappIdfrom the response body.
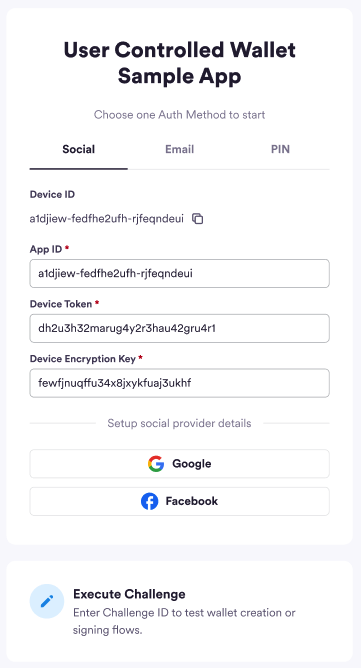
- Add the App ID to the sample app.
The sample app generates and pre-populates the device ID for you. During actual
implementation, you must retrieve it by calling the Client-side SDK method
getDeviceId.You should not call the getDeviceId method while the authentication process is
still running because the method will open an invisible modal to retrieve the
device ID, which will replace the one being used for authentication and
interrupt the ongoing authentication process. Call getDeviceId before calling
performLogin in step 4.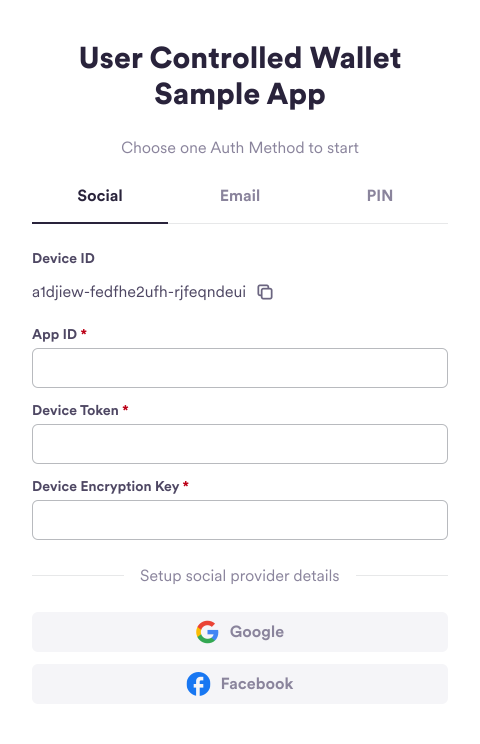
Step 2. Obtain IDs from social providers
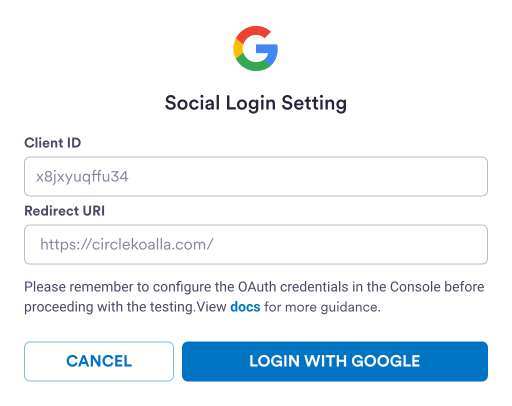
Obtain IDs from the following providers:- Google has a dedicated Client ID for Web, iOS, and Android platforms. See the Google doc: Get your Google API client ID.
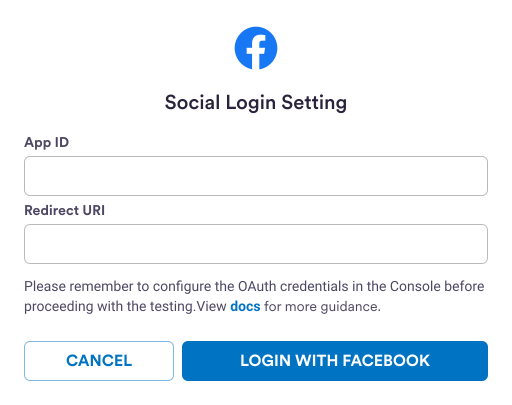
- Facebook has an App ID. See the Facebook doc: Facebook App Development.
- Apple has a Bundle ID for iOS, and a Service ID for Web and Android platforms. See the Apple doc: Register an App ID.
- From the sidebar, navigate to Wallets > User Controlled > Configurator.
- Select Authentication Methods > Social Logins.
- From Social Logins, enter the IDs required for your app:
- Google: Client ID for Android, iOS, or Web.
- Apple: Bundle ID for iOS or Service ID for Android Web.
- Facebook: App ID.
- If your user is logged out, they will not be able to log back in even if their user token is active.
- If your user is logged in, they will remain logged in if their user token is active. When their user token expires in over 14 days, they will be logged out and will not be able to log back in.
Step 3. Set up social provider details
Once you have configured the social provider IDs, you must set upredirectedURI, which corresponds to the loginConfigs within the Web SDK.
- For Google or Facebook, you must set the relevant URL domain or else redirects will be blocked by the provider.
- For Apple, Firebase is used for URL redirection. Firebase configuration must be properly set to carry out the Apple login flow. For setup instructions, see the Firebase doc: Authenticate Using Apple.
Step 4. Perform social login
- Once the SDK setup is done, include your API key and
deviceIdin aPOSTrequest to the/users/social/tokenendpoint.
-
Copy
deviceTokenanddeviceEncryptionKeyfrom the response and enter them into the sample app.Response Body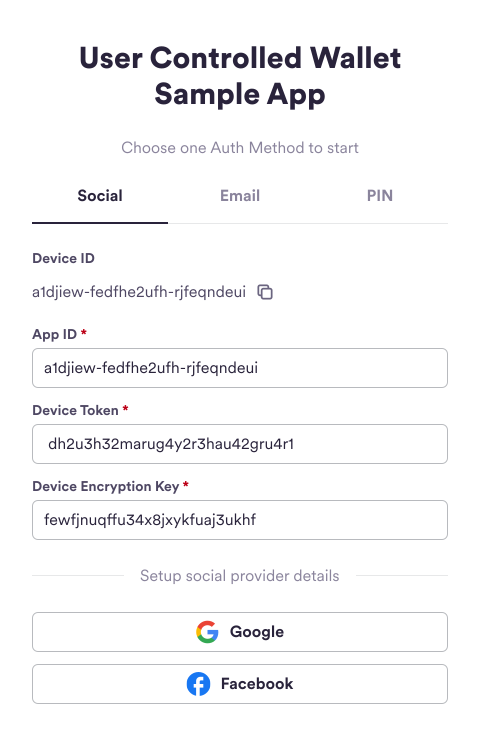
-
On the sample app, select Login with Google or Login with Facebook.
This takes you through the social login flow and corresponds to the SDK
method
performLogin.If calling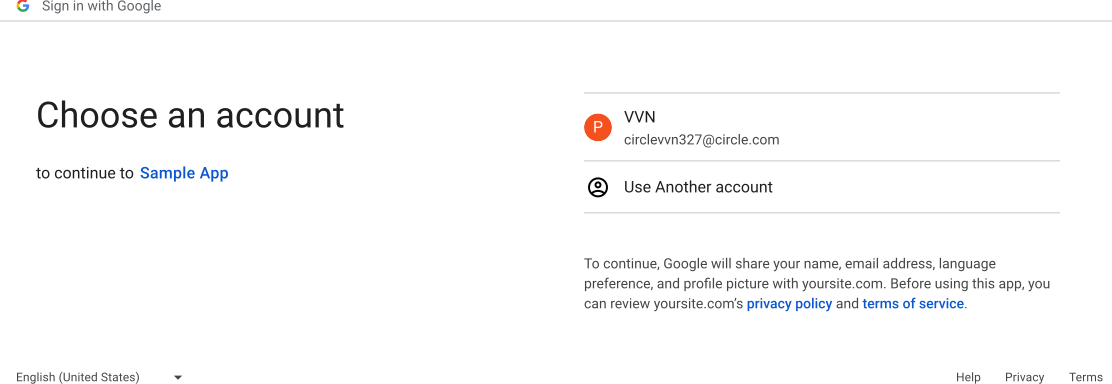
performLogindoesn’t return a response, check the following:- The identity provider credentials in the SDK and DevConsole are correct.
- Confirm that the steps of the SDK initialization are complete, including
calling
getDeviceId.
useEffecthook so you can correctly capture the SDK response. Put the context provider in the root component of the web application:
Typescript
-
After a successful login, you are redirected back to the main page of this
sample app. The “Execute Challenge” section is now visible.
-
Select Execute Challenge.
Both
encryptionKeyanduserTokenare pre-populated since these parameters are required for the next step, which is to initialize the user.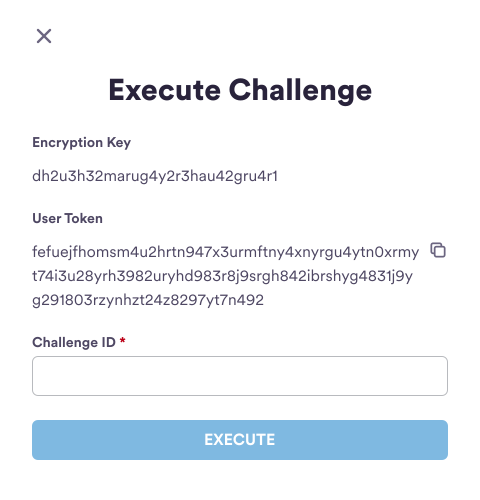
The sample app pre-populates the
encryptionKey and userToken for you.
During the actual development, the client-side SDK returns userId,
userToken, encryptionKey, refreshToken, and OAuthInfo to you.Step 5. Initialize user and acquire challenge ID
- Include
userTokencopied from the previous step in aPOSTrequest to the/user/initializeendpoint. - Copy
challengeIdfrom the response and enter it into the sample app.
Amoy example
The following code samples show how to create an SCA wallet on Amoy and the response.Response Body
Solana example
The following code samples show how to create an EOA wallet on Solana and the response.Response Body
Step 6. Create wallet
- Paste the Challenge ID copied from the previous step into the sample app, and select Execute.
- An “Execute Successful” message is displayed on the sample app. A web3 wallet is created for you users!
To execute a challenge during actual implementation, you must call the Web SDK
API
execute with the challengeId returned from Circle. Also, make sure you
have an active userToken , encryptionKey for any challenge executions.Step 7. Check user and wallet status
Once you have created a wallet in the sample app, you can check the user and wallet status. To check the user’s account status:- Include
userTokenin aGETrequest to the/userendpoint to retrieve the status of the user’s account.
Response Body
- Include
userTokenin aGETrequest to the/walletsendpoint to retrieve the user’s new wallet.
Amoy sample response
Response Body
Solana sample response
Response Body
- From the Wallets section on the sidebar, select User Controlled > Users.
- Select your user from the row. The wallet address is displayed.